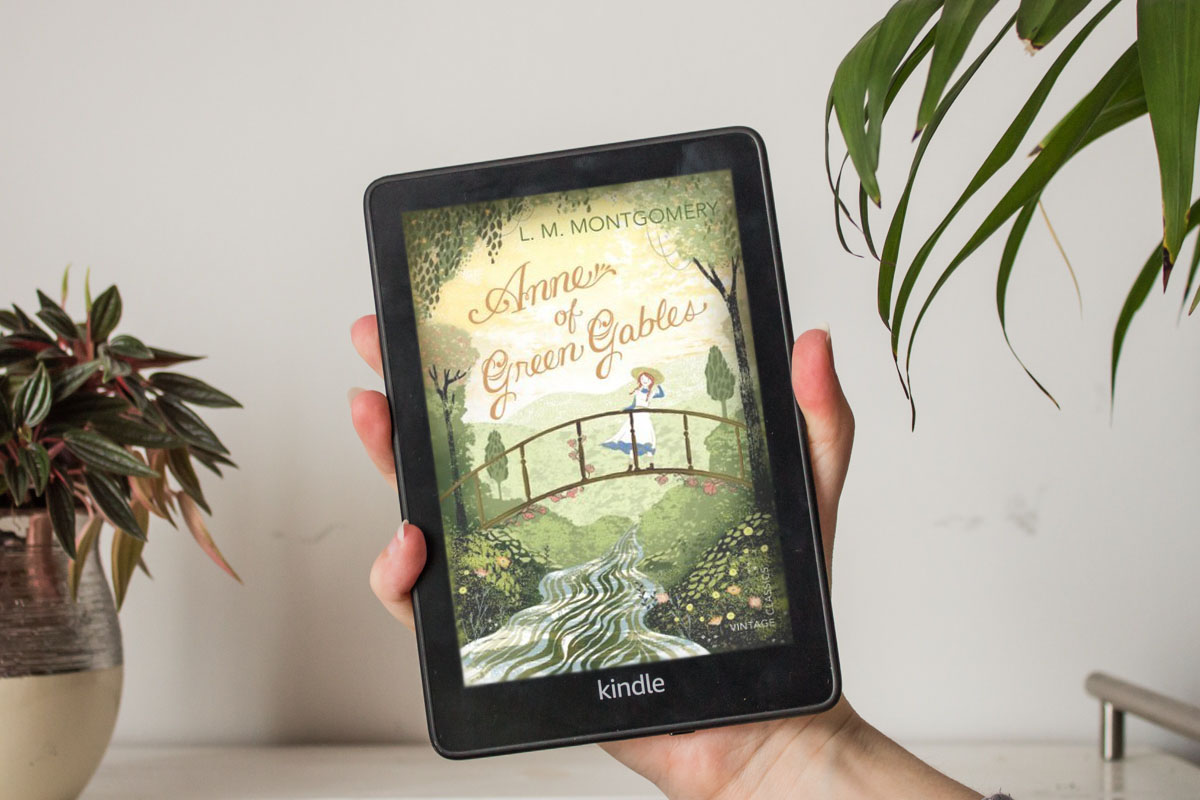
My bookshelves always bothered me for one reason: they are too deep. And lately, with the growth of my book collection, I found myself thinking of putting the books in double rows. Although which books will go in the back? They will be out of sight and hard to reach, so I need to think carefully about which one will be in the back. While scrolling through Pinterest, I saw an ad for a shelf riser for manga collections. And that was the answer I needed all along.
A shelf riser, or as I prefer to call it, a shelf shelf is a structure to elevate the books that will be placed on the back row. So, I grabbed a pencil and paper and began to draw. I wanted something simple and cheap. Cardboard. Although for it to sustain such weight, it had to have a structure underneath that could make it more sturdy. After many calculations, it was time to start testing. The first one worked so well that I couldn’t help to keep crafting more. Each one took me about an hour to cut and glue together. This project wasn’t as challenging as I expected. On first look, I thought it would use a lot more cardboard than it actually does and a lot more time. The hardest part was to stop making them.
The calculations
Keep in mind I did this project for my Ikea Kallax shelf. Each square is around 34 cm in length and I calculated my shelf riser to hold books up to 24 cm in height. So every measure I’ll use in this DIY was calculated to fit my necessity. Although I’ll leave here the calculations I did to get my measurements so you can adapt to your own if you need.
Measure the height, width and length of the inside of the shelf.
Height: 34 cm
Width: 39 cm
Length: 33,4 cm (it’s important to have this measure precise to avoid doing many adjustments later)
Also, measure the height and length of the bigger book you will place on that shelf.
Height: 23,6 cm (I round it to 24 cm)
Length: 15 cm
Measure the thickness of the cardboard you’re using.
Thickness: 0,2 cm
For the overall measure of the shelf riser, simply add 1 to 2 cm to the length of the book to get the width of the new shelf. And for the height, subtract the height of the book plus 1 cm from the height of the shelf (that extra centimetre will be a margin so the books don’t hit the top of the shelf).
Width: 15+1=16 cm
Height: 34-(24+1)=9 cm (I used this number as a limit but I ended up making it smaller to 8,4 cm so I could cut the structure with a whole number instead of decimals)
The part that requires the most calculation is the dimension of every piece. There are two parts to the project, the structure, that will be supporting the weight, and the covers, the top and the front. The structure is composed of rectangles with crosses in between to help support the weight of the books. If there was only two rectangles on each side, the cardboard would collapse in the middle. And the crosses help to evenly distribute the weight leaving less surface area on the cardboard without any support. One book might not be too heavy but 10, 20 are.
Given the length of my shelf, I decided on 4 support rectangles (better to have more than less support). By subtracting the thickness of those 4 from the length of the shelf and dividing it by 3 (the space between every rectangle) it spaced them about 10 cm apart. And I feel that’s a good number to keep in mind when planning a bigger shelf riser. Aim for a space in between rectangles of around 10 cm.
Distance in between: 33,4-(4*0,2)=32,6/3=10,9 cm
Now that we know how many to do and how spaced apart they are, is time for their measurements. The rectangles’ length is the same as the shelf riser width we’ve already calculated. While the height is the same as the shelf riser minus 2 times the thickness of the cardboard (which belongs to the top cover).
Length: 16 cm
Height: 8,4-(2*0,2)=8 cm (again, I’m using a height of 8,4 instead of 9 because I didn’t want to be cutting rectangles with a height of 8,6. I tried to work with whole numbers as much as possible to make my life easier. In the end, it’s such a small difference that doesn’t impact how the books fit because the total height doesn’t go over that established limit of 9 cm)
Now for the crosses in between the rectangles, you’ll need to bring the big guns. Remember the Pythagoras Theorem? That formula we all thought “why do I need to learn this?” well… For doing DIY projects. That’s why we all learn it in math class.
The crosses are made of two rectangles joined in the middle and we already have their height, the same as the support rectangles. Now what we need is the length, and for that a2+b2=c2 is the answer.
Height: 8 cm
We know the value of a=length of support rectangle and the value of b=distance between support rectangles.
C2=a2+b2
C2=162+10,92
C2=256+118,81
C2=374,81
C=square root of 374,81
C=19,4
Length: 19,4 cm
And that’s the length. When putting it on cardboard there isn’t a problem if you miss by a few millilitres. One great advantage of cardboard is that it can be bent so if the measures are a little off you can still force them to their place and then later adjust the overall structure to sit right.
Now the only thing left is the cover pieces. The top piece is doubled to make it more sturdy to hold the weight. With the width and length of the overall shelf riser.
Length: 33,4 cm
Width: 16 cm
While the front has the height and length of the shelf riser.
Length: 33,4 cm
Height: 8,4 cm
With all the calculations and measurements out of the way is finally time to roll up your sleeves and start crafting.
The Shelf Shelf
Supplies list:
Cardboard
Universal glue (or any glue that dries relatively fast)
White glue
X-ato knife
Ruler
Pencil
Brush
For building the shelf riser, you’ll need to start with the inside, the support structure. For that, you’ll need a total of 4 rectangles and 3 crosses.

Cut out 4 rectangles measuring 16 by 8 cm. And 6 rectangles 19,4 by 8 cm. Pay attention to the direction you are cutting it. Make sure the length is cut against the waves. This way, the cardboard can stand the weight of the books better.

Grab the 6 rectangles and do a cut in the middle of the length but only half the height, so 4 cm. Then grab a pencil and run it through. The idea is to open the cut a little more so it’s easier to fit the two pieces of cardboard together making a cross-lap joint.


Once everything is ready, it’s time to assemble. Glue one cross to one rectangle by its shortest side (height). The cross will look more like an X once glued just make sure they are as aligned as possible. Make sure the cardboard face of the rectangle that will be on the outside (not being glued on) is on the smooth side. If you look closely one of the sides of the cardboard always has some faint lines and later on, if you paint over them the cardboard will become slightly wavy instead of smooth.
Repeat the process paying attention only to the 2 rectangles that will be facing out for a smoother finish. Otherwise, just focus on glueing the pieces together. Glue all the individual sections together to end with one single structure. Here you can test how it fits on the shelf. If it’s smaller or slightly bigger don’t worry, the 2 central rectangles can be bent inwards (to shorten) or outward (to enlarge).


To make the covers of the structure you’ll need 2 rectangles 33,4 cm by 16 cm for the top, and 1 rectangle 33,4 cm by 8,4 cm for the front. Cut the longer sides in the direction of the waves to make a more seamless front. Test on your shelves if these pieces of cardboard fit or if you need to make any adjustments, especially if they are bigger.
Then glue the 2 top rectangles together once again paying attention to have the smoothest side facing up.

And once that’s done glue the structure on the opposite side. Focus on fixing the side rectangles as close to the edge as possible on both sides as well as the corners of the whole structure. If for some reason the width of the structure is smaller than the width of the double rectangle then align to one side for it to be the front of the shelf riser.

Then glue the other rectangle you’ve cut before that will be the front of the shelf while pinching along the top edge to do a seamless finish. This is just an appearance choice. The truth is the shelf riser will be on the back of the shelf probably hidden behind books, so if you don’t care about that it’s fine. This is purely a stylistic choice and doesn’t impact the working of it.
For extra strength, turn the shelf riser upside down and go over every connection with white glue. This glue takes a long time to dry but it’s great to spread over with a brush and to fill any holes or gaps. Once dry the shelf riser is done. You can use it like that straight away or paint it with any colour you like or mimic the colour of your shelves.

Optional
Supplies list:
Gesso
Acrylic Paint
Brush
White Glue
I did a total of 4 shelve risers to test out different ways to paint it and there isn’t a best way to do it. All of them gave very similar results. I’ll go over the one I found to be the quickest but if you just want to paint it over with acrylics or not at all is completely up to you.
Apply 2 coats of gesso to cover up any printing there might be on the cardboard and to reduce the number of coats of paint you’ll have to do later.

Since my shelves are white I kept the same colour and painted 2 coats of acrylic white paint. I did 2 because my paint is not completely opaque and it’s white which is already a pain to get full coverage. But if you are satisfied with the result after just one coat then it’s fine.

I also used brilliant white paint which gave me a shiny finish. But if your paint is mate and you want a shiny look, then paint one layer of white glue in the end and it should give you a similar effect.
Once dry, they are officially done. Now the only thing left to do is reorganising the shelves. With double the space, I need to rethink my organisational method. And now I have so much empty space that I have to go shopping for more books, right? I mean… the space is there, I might as well fill it.