Once upon a time, there was a sad little mouse. He didn’t have a house. He would sleep in the cold, with no one else there to hold, alone in the dark, every day being chased. It was a hard time he faced. Until a friendly witch cast a spell, working really hard to craft it well, and out of paper and clay, she built a brand new house for him to stay.
Well, I must stop the story here before something terrible happens! But today, it’s not the time for storytelling – that, I save for sleepovers – but it is time for another craft, more specifically a house for your mouse! Just like in the story! Now seriously, this is a craft I made two years ago when a friend needed a box to store her mouse. And in case you haven’t guessed it yet, I’m talking about a computer mouse, not a live one. She needs to take her laptop with her when she goes to Uni, and a mouse can easily get lost inside all the junk we carry around in our bags.
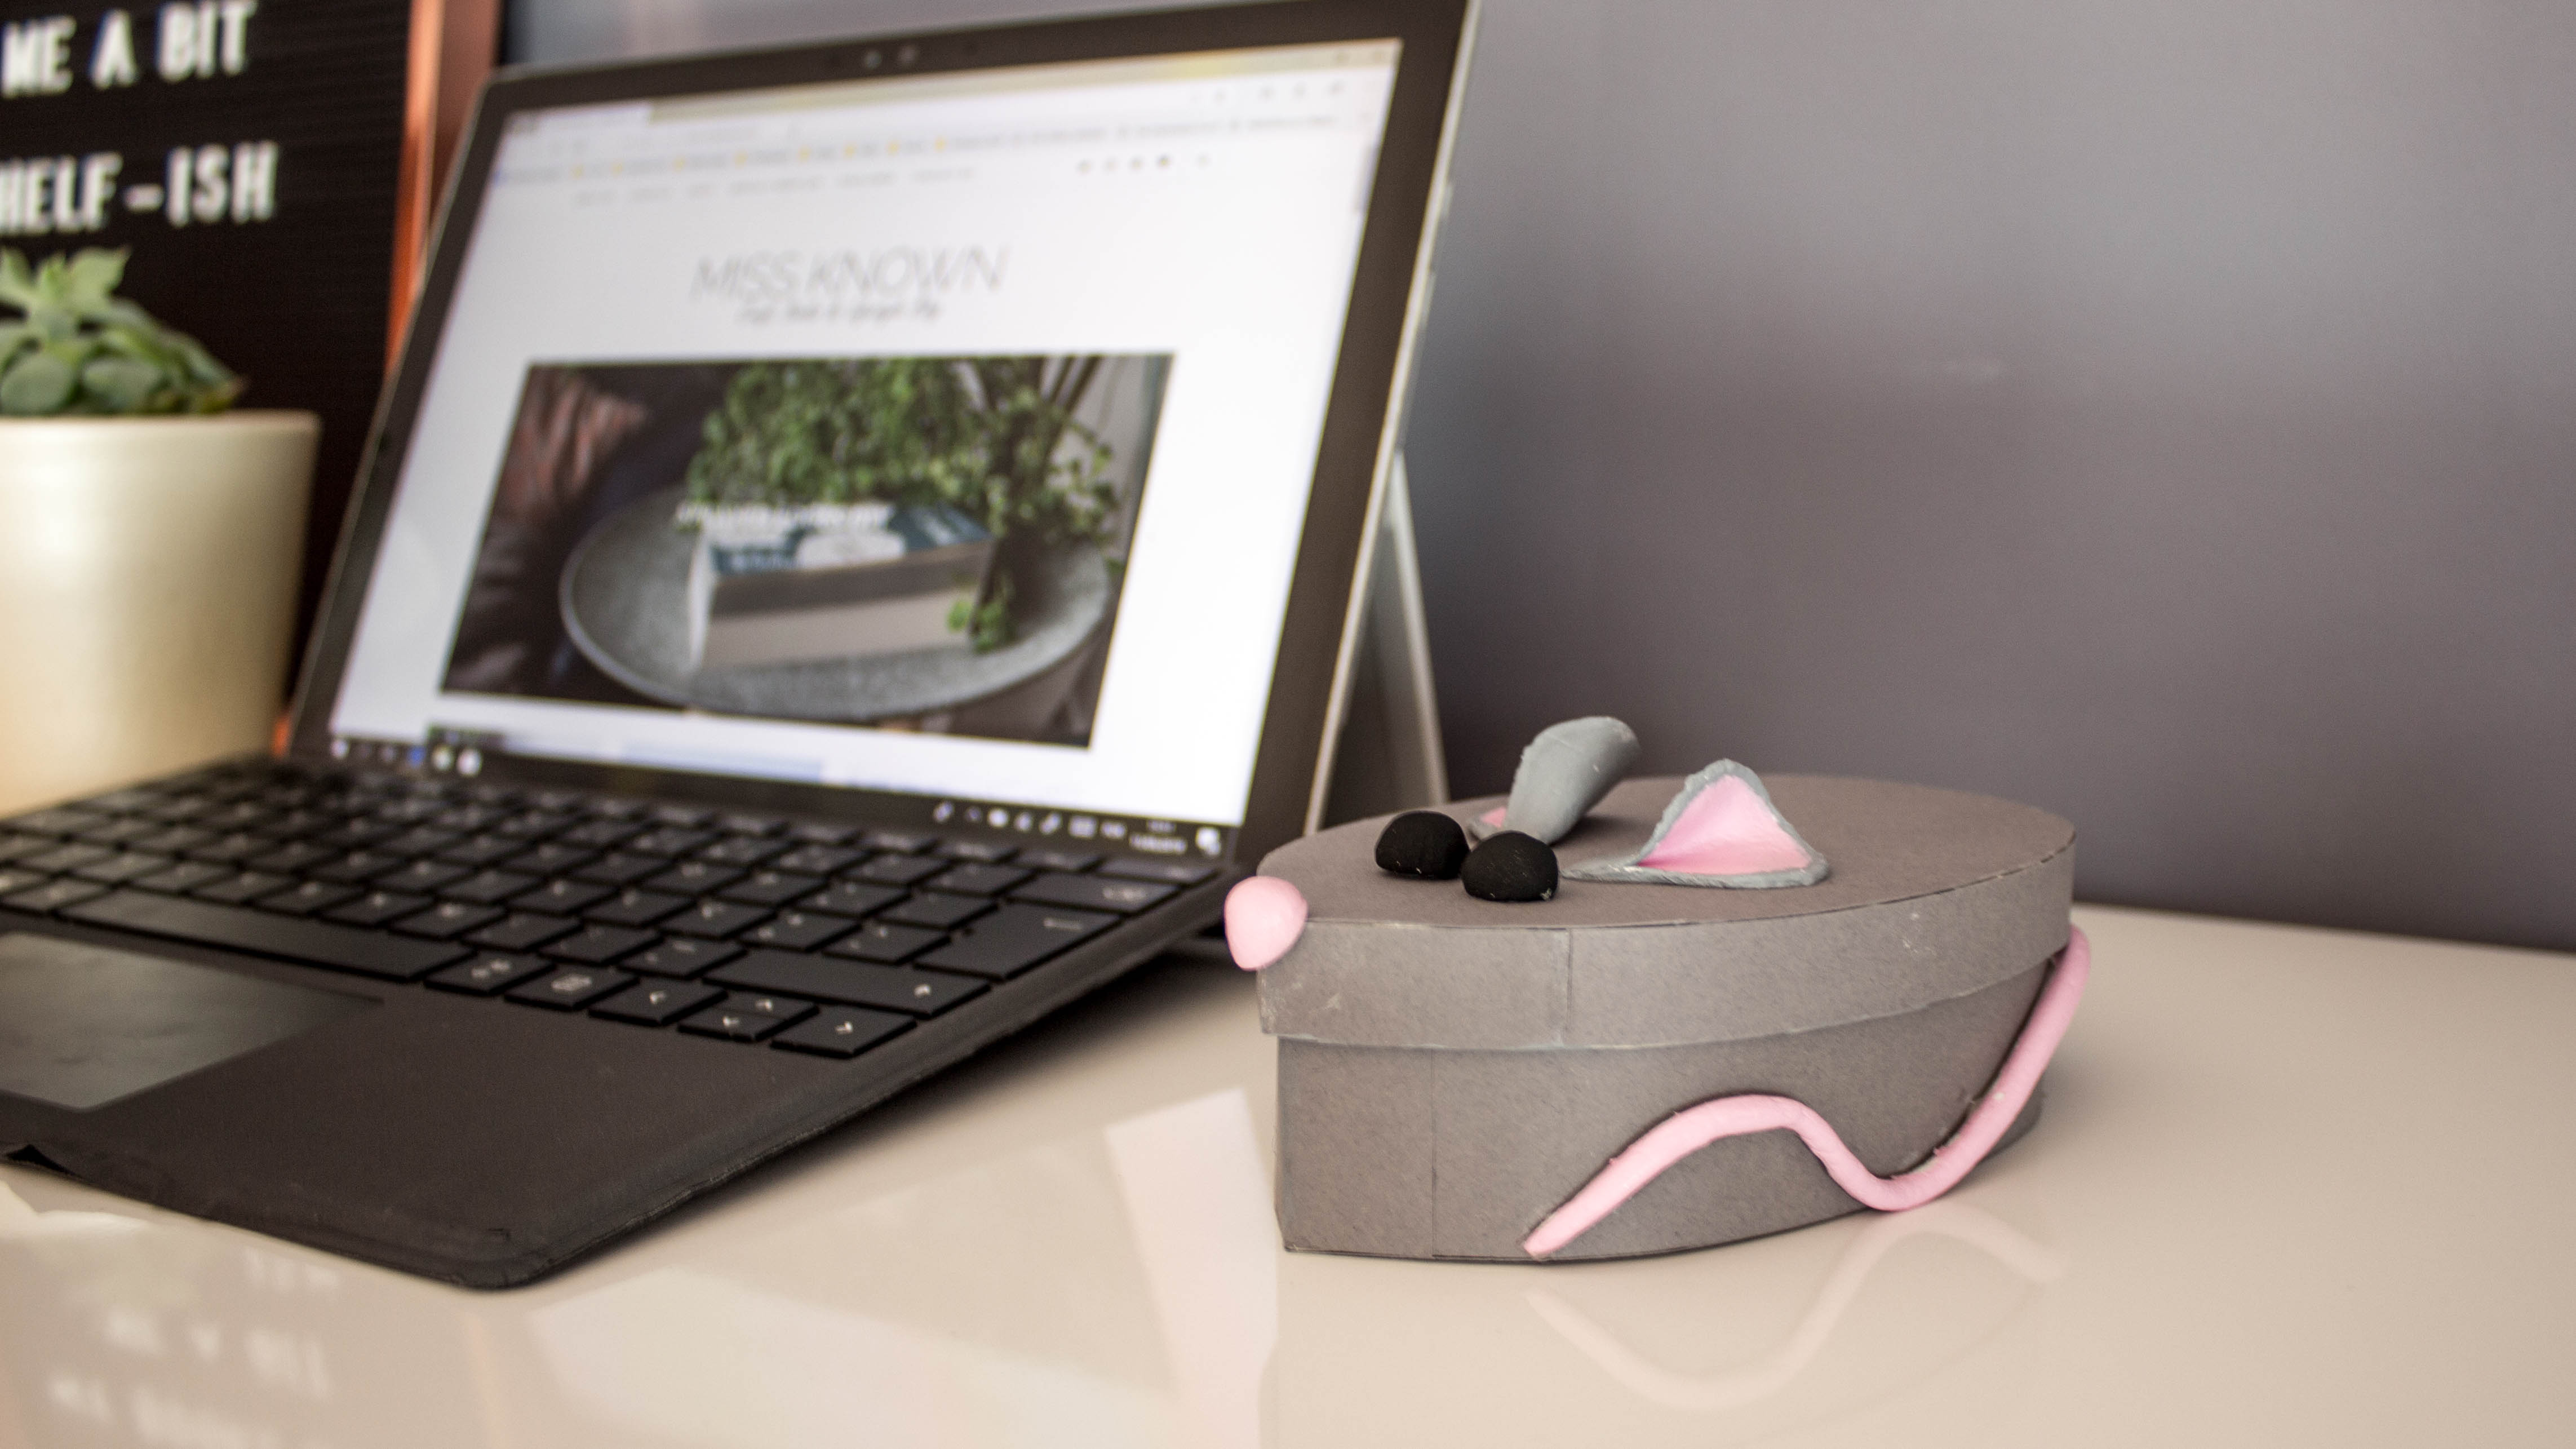
I know I could have made a simple rectangular box, but where’s the fun in that?? I wanted to break out of the ordinary and create something unique for her. And me being me, I had to take the purpose of the box literally, so I designed a mouse box to store a mouse. To make it practical, I knew I couldn’t make a precise replica of the animal, so I stick with the minimum: a tail, two ears, two eyes, and a nose.
So two years later, here I am again remaking the box and trying out different ways to add the features. Those are the elements that define the box and tells you what on Earth this is. Unfortunately, this time, the box isn’t as good to throw in your bag as it was the first time, BUT it’s a great piece to decorate your office and store your mouse when you are not using it.
Supplies:
Paperboard or bristol board
Cutting Knife
Tape
Acrylic Paint (Grey, Baby Pink, and Balck)
Cardstock or Coloured paper (Grey)
Air-dry Clay
Glue
Paintbrush
Pencil
Ruler

Note: Since this isn’t the first time I’m doing this, I’m using the “mould” I did when I was storming this idea, and sadly, I don’t have any photos of that process.
Step 1. Do a first sketch tracing around your mouse to a piece of paper. Then draw a drop shape around that tracing. That will be your template for the box, and cut it out.


Step 2. Trace the template on to a piece of paperboard or bristol board and cut it out. Also cut a rectangle with a width bigger than the height of the mouse, and the length bigger than the perimeter of the base.
Note: An easy way to know the perimeter is to use the base as a tool. Align the pointy side of the base with the corner of the paperboard and start rolling it over following along the side of the paperboard until the point meets the paperboard again. Since this isn’t a very rigorous method you might need to add a couple more centimetres and trim the excess later.


Step 3. Grab some tape and start joining both pieces together (the base shape and the rectangle) aligning the rectangle on the outside of the base. When you get all the way around cut any excess paperboard and add tape to join both ends. Add a few bits of tape on the inside the make it sturdy.


Step 4. Use the bottom of the box to trace the lid, and before cutting it out trace a second line around it spacing 1 or 2 millimetres to make sure the lid doesn’t fit too tight onto the box.
Step 5. Repeat the same process in step 2 and 3 but set the width for 1,5 centimetres, you won’t be needing more.


Step 6. Now it’s time to smooth out the surface from all the tape on both pieces (the box and the lid). Here you have two options: cut out pieces of paper for the bottom and sides of the box and paint it over in the colour of your choice. OR. Cut out pieces of colourful paper and glue them to the box without needing to paint.
Note: The first option it’s easier because you don’t have to create a colour that matches the coloured paper. But for this second time, I wanted to try something different and went with the second option. My only mistake was not using the base shape to trace in the paper before assembling it, which meant that I had to paint the inside base.

Step 7. Set the pieces aside to dry, and let’s start with the features. Two eyes, two ears, one nose, and one tail. Grab the clay and separate 6 parts: one big for the tail, two medium for the ears, and three small for the eyes and nose.
Step 7.1. For the ears flatten out a circle and cut out a drop shape. Fold in one side over the other and pinch on the pointy side. Do the same to the other circle and set it aside to dry.


Step 7.2. For the nose, roll up into a ball and press it against the corner of the lid to get the inside shape. Set it aside to dry.
Step 7.3. For the eyes, roll up into a ball and flatten one side against the table. It’s important for the eyes to have a flat surface to glue properly on the lid. Do the same with the other one and let them dry.


Step 7.4. For the tail, roll it into a long string making one end thinner than the other. Use the box to help shape the tail and to get the curviness of the surface. Remember to leave a margin for the lid to fit. Let the tail dry on top of the box so it doesn’t lose the shape. Use some tissues paper in between the box and the clay to absorb any humidity the clay might release while drying.


Step 8. Time to paint all the features. I chose pink for the nose, the inside of the ears and the tail, and black for the eyes. For the outside of the ears, I used the same grey I used for the box. Let the paint dry.


Step 9. Test out where every piece is going to go and use a pencil for marking. When you are satisfied with the placement, it’s time to start glueing everything. Let it dry, and it’s done!
Note: I started using the hot glue gun but soon I realised that it wasn’t the best so any universal glue or even glue for clay should do a better job.

And so it ends the tale of the little mouse that now had a house and the friendly witch that after failed attempts and accidents managed to build a house out of experiments. If it’s going to be the last house she builds nobody knows, but the friendly