There has been a trend that took the book community by storm: sprayed edges. This isn’t something new that we never saw before, there are a few books editions that have sprayed edges, but suddenly every book worm out there are adventuring themselves into arts and crafts to make their books unique. Since I love books and I love crafts, I couldn’t miss this opportunity. So today, I’m going to spray paint a paperback book!!
Since it’s the first time I’m doing this, I didn’t want to risk the life of a favourite book, and the only spray paint I currently have it’s a glittering silver, which would look perfect in a Christmas book. Deciding which book to paint was easy, the only thing left was figuring out how to protect a paperback.

Supplies:
Spray Paint (silver)
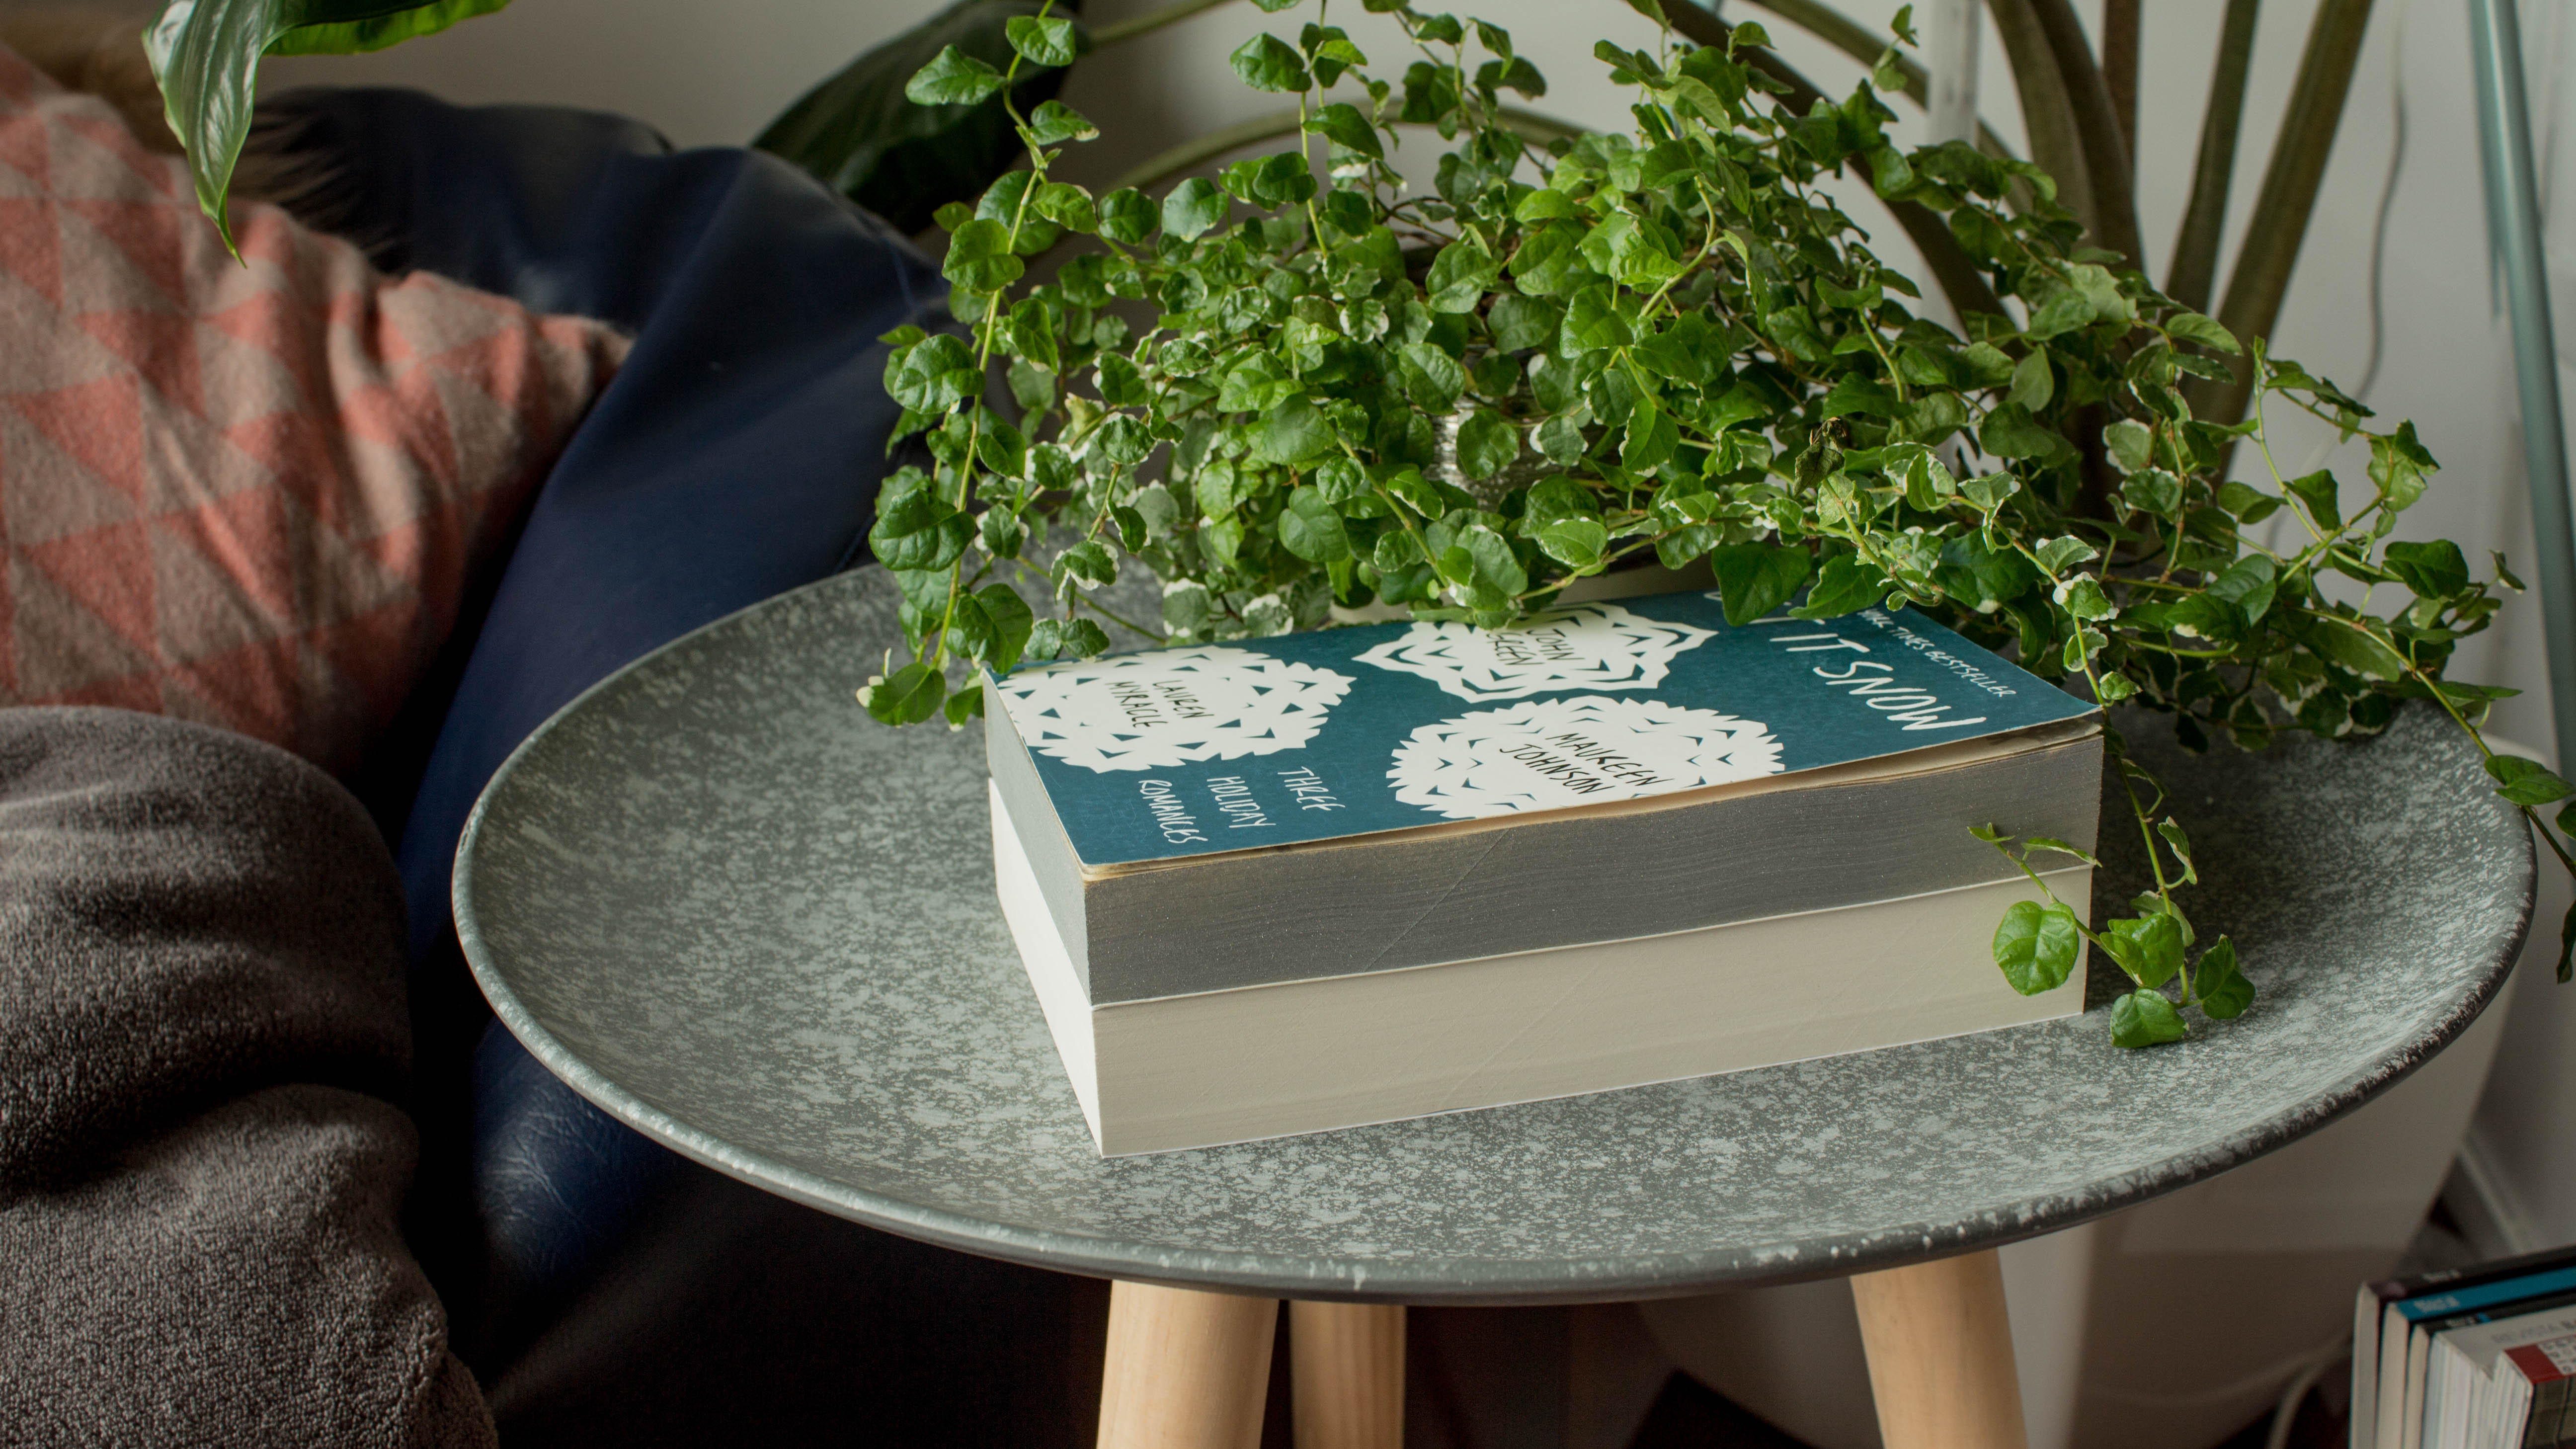
A book (Let It Snow by Maureen Johnson, John Green, Lauren Miracle)
Paper
Painters Tape
Gloves

Step 1. A paperback’s very different from a hardcover, and I knew the top and bottom of the spine was going to be the tricky part. I only want to paint the pages, not the cover, but paperbacks have a very slim cover with the same size as the pages, so I started by placing a few strips of tape around the top and bottom but left tiny border to fold over. And I say tiny because on the spine you can’t fold in or else you would cover the pages, so the tape has to go until the limit of the glue.


Step 2. Wrap the entire cover with paper to protect it. Make sure your paper is bigger than the book to be able to fold in all the excess. On the spine, you have to fold the paper back and secure with tape aligning it with the first layer of tape we did before.

Note: I had a problem with the tape bleeding the paint into the pages, so make sure you tape down the paper in the inside of the cover and not on the edge. That way the paper will absorb any spray paint and dry quickly, whereas on the tape the paint doesn’t stick and takes longer to dry which gets inside the book.


Step 3. If you can, use a weight on top of the book covering it as well to avoid getting it painted. Or use your hand with a pair of gloves and press down the book as hard as you can so the paint doesn’t go between the pages. Spray paint one side at a time and keep pressing it down for a few more second to let it dry. Repeat the same process on each side.

Step 4. Since my spray paint had glitter, I went over with tissue paper to remove any excess, because I don’t want to feel like I touched a unicorn every time I pick up the book. Otherwise, there is no need to do this.


Step 5. Unwrap your book carefully so the tape doesn’t damage it, and enjoy your old-now-new book!

One positive side of painting your book with spray paint instead of acrylic paint is that you don’t have to separate any pages, making this process quicker and safer for your book. The paint only bled on the first and last pages because of the tape, and the rest was perfectly painted. The extra work on taping the edge of the cover worked perfectly on the spine leaving it completely clean. Since this craft was so successful, I’m sure I will repeat it in the future with other colours and maybe even risk the life of a favourite book!